WE’RE BLUSHING…WHERE TO APPLY BLUSHER: THE TRENDS AND TECHNIQUES TO KNOW
We caught up with our expert Buyer, Sophie Ghwedar, on the latest cheek essentials designed to take your blush wardrobes to playful new heights.
IN THIS ARTICLE
TREND WATCH
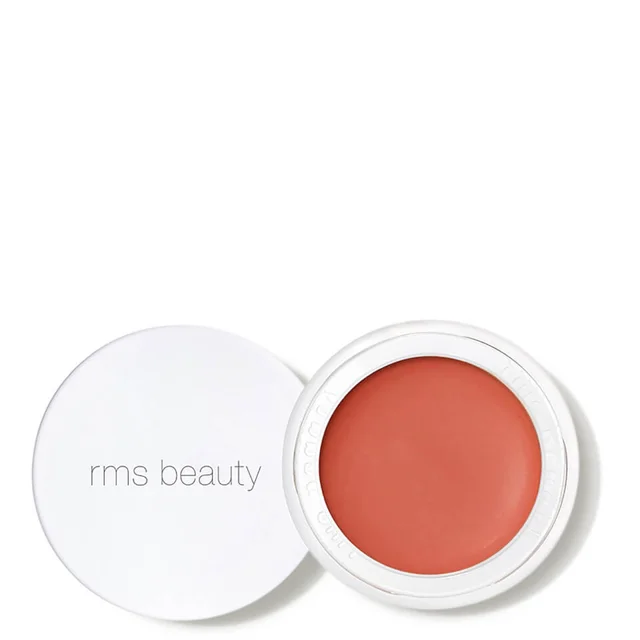
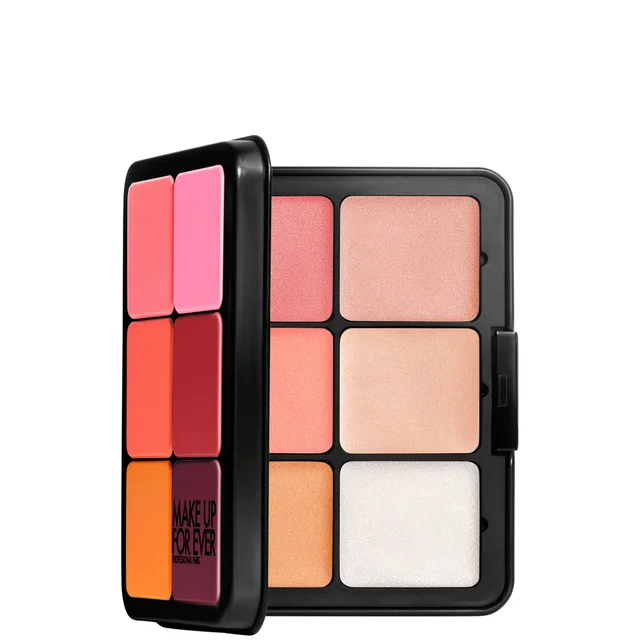
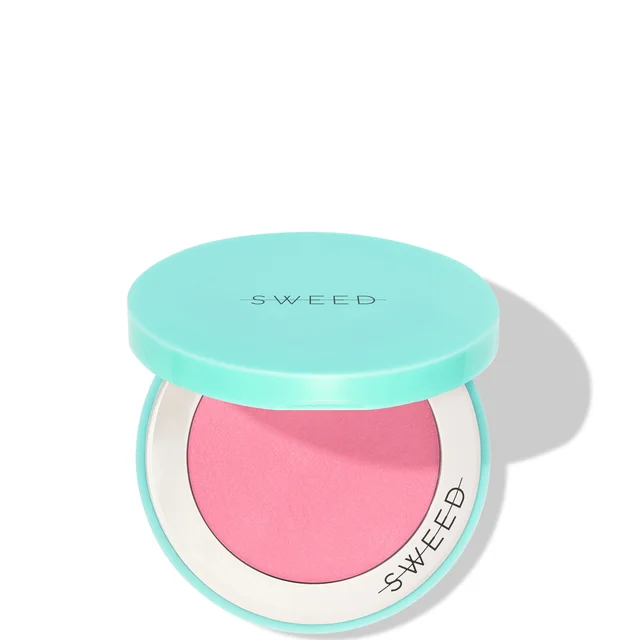
SUNSET BLUSH
Inspired by the warmth of the sky at sunset, Sunset Blush was put on the map by content creator Alissa Holmes (@alissajanay1). Creating a unique gradient with shimmer and colour, this blusher placement fuses powerful pigment with a subtle sparkle of highlighter. Typically blending two hues, Sunset Blush uses shades of pink, peach, coral, orange and even a hint of red or purple to create a soft sign off. This look is bright, energetic and ideal for the summer season – whether you’re heading to a balmy beach or enjoying the city’s rooftop bars and outdoor spaces.
WHERE TO APPLY BLUSHER:
- Apply blush on the upper part of your cheeks to lift the face and create a soft, flushed effect.
- Then, blend the blush upwards toward your temples for a seamless gradient, mimicking how the sun naturally hits the skin.
- For extra affect, lightly sweep the blush across the bridge of your nose on the forehead near the hairline and to the tip of the chin to enhance the warmth feeling and tie the look together.
- Finally, layer a glow highlighter on the high points of your face to enhance your radiance.

6
£37.00

£26.00
392
£30.00

2
£50.00
93
£38.00
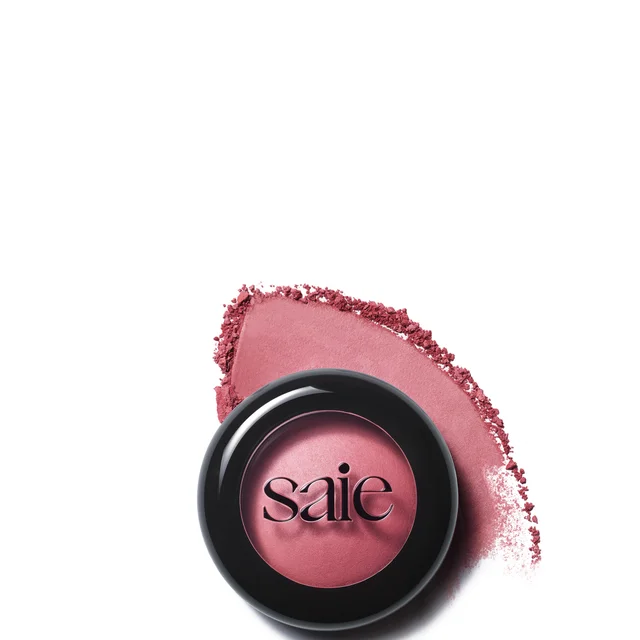
WATERCOLOUR BLUSH
Making waves in the beauty world, watercolour blush offers a fresh and delicate approach to adding colour to your cheeks. Inspired by the gentle, translucent strokes of watercolour paintings, it emphasises a sheer, buildable flush that mimics the natural warmth of your skin rather than harsh, defined contours. “This is a soft colour palette that’s really leaning into the Butter Skin trend. It’s all about soft, lured pigments that look like they have melted into the skin with soft, diffused edges. A dreamy yet attainable finish, the watercolour blush achieves light, natural enhancements to highlight your natural beauty!"
WHERE TO APPLY BLUSHER:
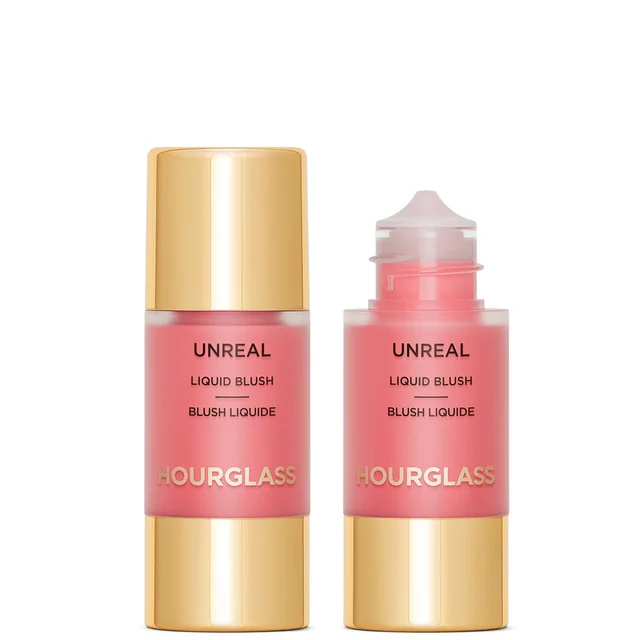
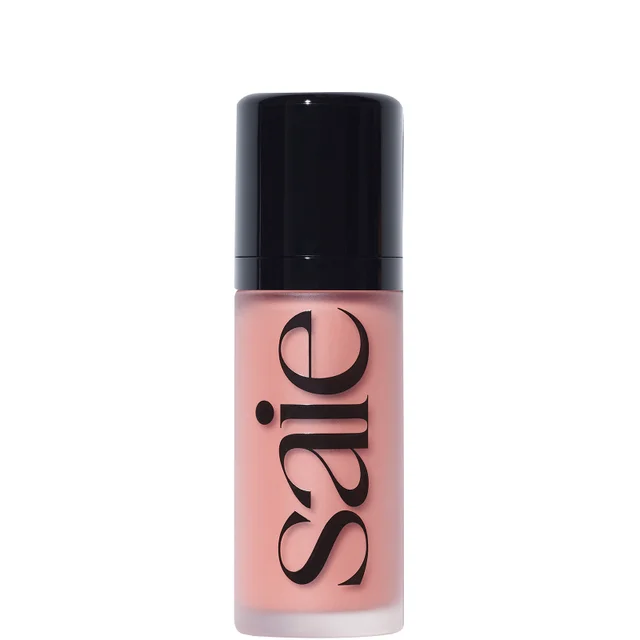
- Start by selecting a liquid, cream, or gel blush in soft, sheer shades. We're talking pinks, peaches, or corals, as these formulas blend easily and give that translucent, watercolour effect.
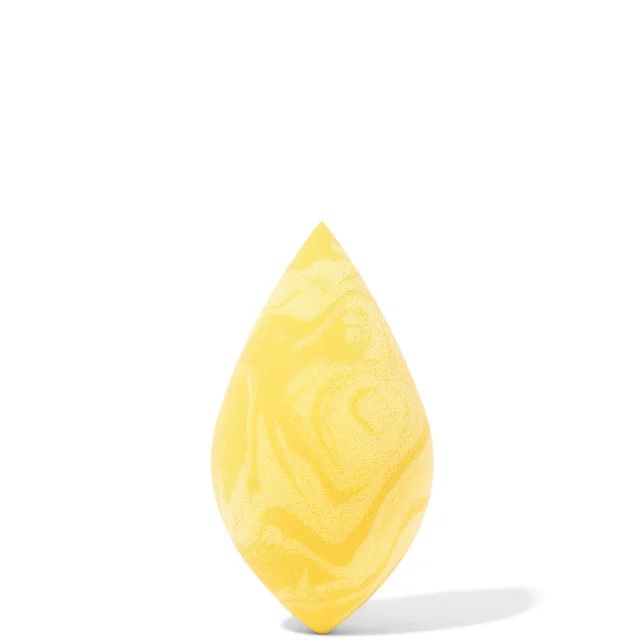
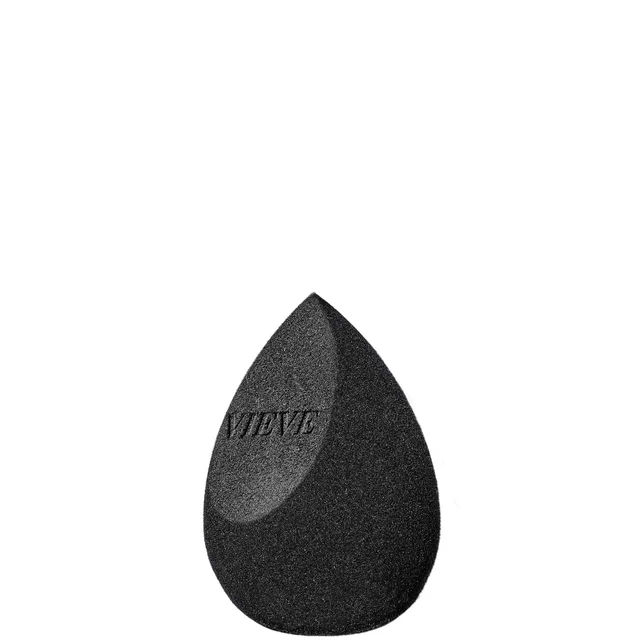
Next, for the most natural look, use your ring finger to gently dab the blush onto the apples of your cheeks. Or, alternatively, apply the pigment with a damp make up sponge to help sheer out the colour and blend it seamlessly. - From there, softly sweep your blusher upwards along your cheekbones towards your temples, mimicking the natural flow of blood under your skin.
- Now, build your colour up to your desired flush. The beauty of this trend is that it's buildable. Layer thin washes of colour, blending thoroughly between each layer until you've achieved your signature sign off.
- Use gentle, circular motions to blend the edges into your skin, ensuring there are no harsh lines. The goal is a soft, diffused look that appears like a natural glow rather than a defined patch of colour.
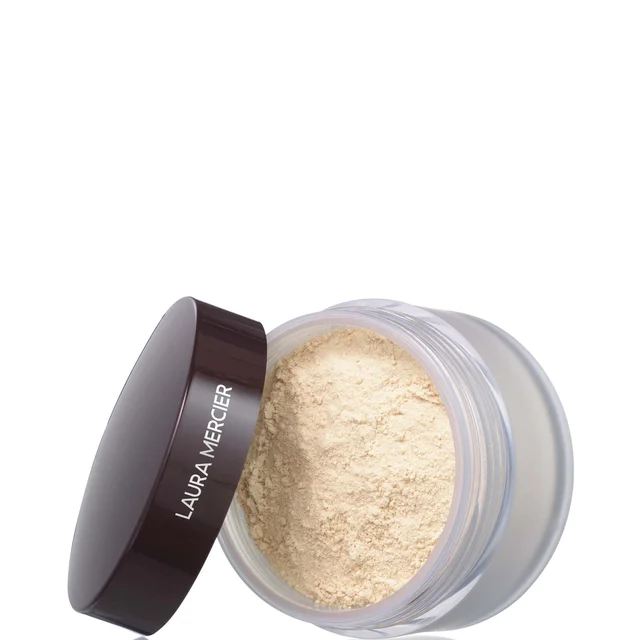
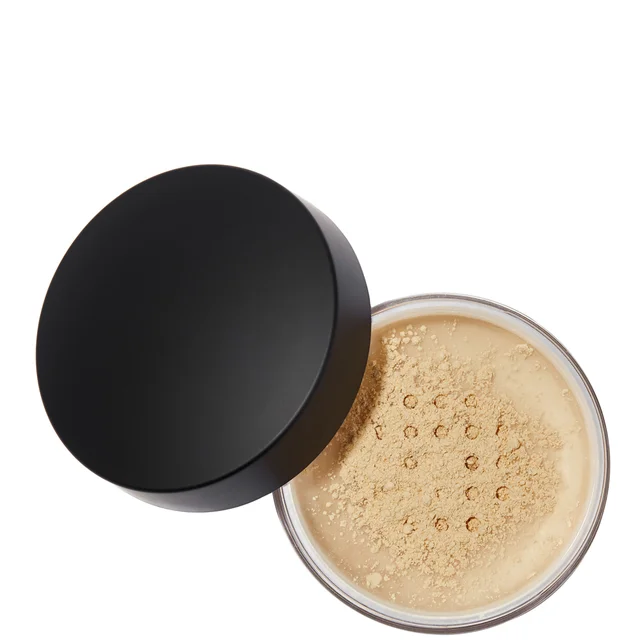
Finally, set your cheeks with a translucent powder. Use a fluffy brush and a very light hand to avoid dulling the fresh, dewy finish.
1820
£22.00
14
£12.00
850
£38.50
29
£38.00
51
£14.00
12
£39.00
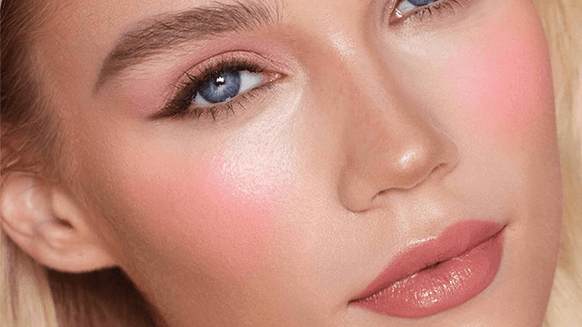
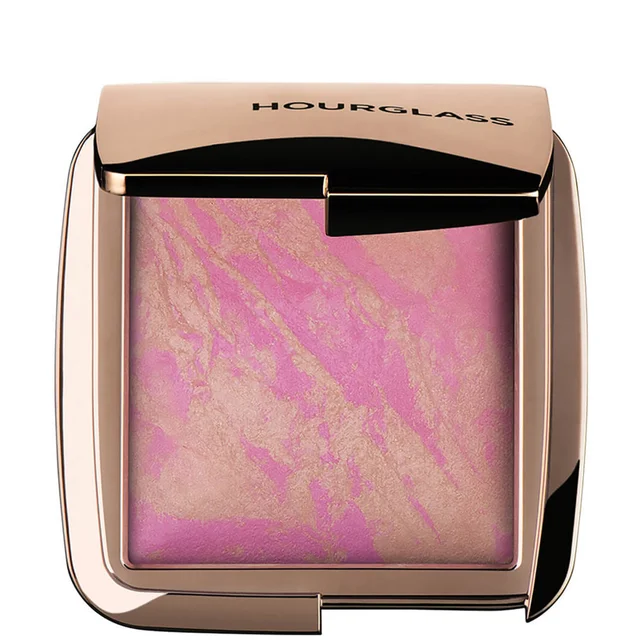
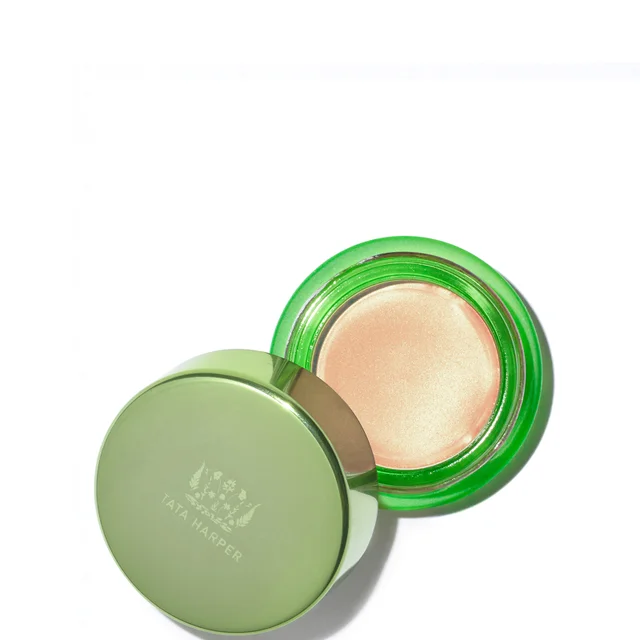
GLAZED BLUSH
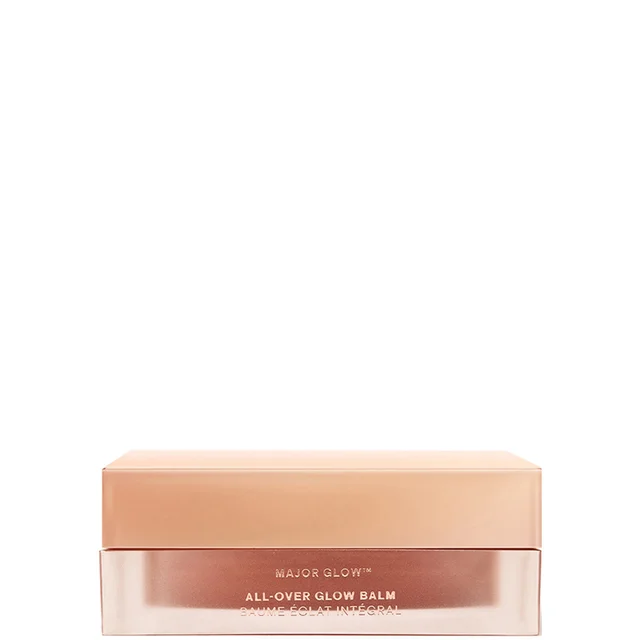
In the same way that the Glazed Nails trend took a classic milky shade then elevated it with an extra glossy topcoat, Glazed Blush takes your traditional blush shades (think: pinks, peaches, berries and corals) and layers it with a dewy hue that falls somewhere between a blusher and highlighter. Often created using a cream, liquid, or hybrid blush that contain fine shimmers, this blusher placement grants your skin with a radiant flush that favours glow over pigment. But the real beauty of this finish? You can dial it up or down, depending on the occasion.
WHERE TO APPLY BLUSHER:
- Rather than focusing on the apples of your cheeks, apply your blusher slightly higher (just above the cheekbones).
- Next, take your colour and blend it upward toward the temples to give you a sculpted look.
- Dab a small amount of your highlighted blush across the bridge of your nose, before lightly blending it in on the chin and near your hairline to tie the look together.
- And, if you want extra gloss, use a cream highlighter or a clear balm on top of the look for an ultra-sheeny sign off.

70
£29.00
64
£46.00
9
£75.00
183
£24.00
3
£96.00
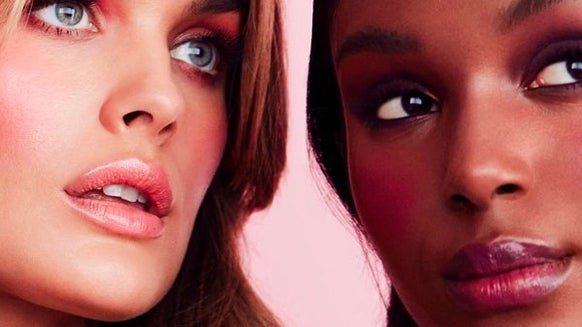
BOYFRIEND BLUSH
Aptly named, Boyfriend Blush mimics the way one typically flushes after playing sports (a la Prince William and Harry in the late 2000s). A natural pop of colour that sits lower down on the cheeks, this look is soft, effortless and fresh. Instead of using your blusher to sculpt, Boyfriend Blush has no specific placement and uses minimal effort to mimic the effects of your own skin. When it comes to colour, opt for rosy, peachy or muted pink tones that mimic a natural blush rather than bright and bold shades.
WHERE TO APPLY BLUSHER:
- Start by focusing your blusher on the roundest part of your cheeks where you naturally flush.
Use your fingers or you make up sponge diffuse the colour towards the temples for a seamless blend. - Lightly sweep the pigment across the bridge of the nose and any other areas you may naturally go rosier after being outdoors.
28
£8.99
51
£14.00
116
£28.00
182
£17.50
440
£44.00
JELLY DONUT BLUSH
A sweet statement that your make up craves, the Jelly Donut Blush pays homage to your favourite gourmet treat. Recreating its circular shape and red jelly centre, this blusher placement consists of a two-step application, adding colour to the cheeks as well as a glazed, glossy finish. A great way to recreate that ‘just pinched’ look, it’s inspired by Korean Beauty’s Douyin and Igari trends which spotlights round, flushed cheeks.
WHERE TO APPLY BLUSHER:
- To begin, draw a circle (like the shape of a donut) with your highlighter on the centre of your cheekbones.
- Then, place a small dot of blush (the donut’s jelly) in this circle.
Finally, blend the two formulas by stretching the colour over the entire cheekbone with a blush brush.
1558
£24.00

210
£22.50

£48.00
186
£23.00
2
£25.00
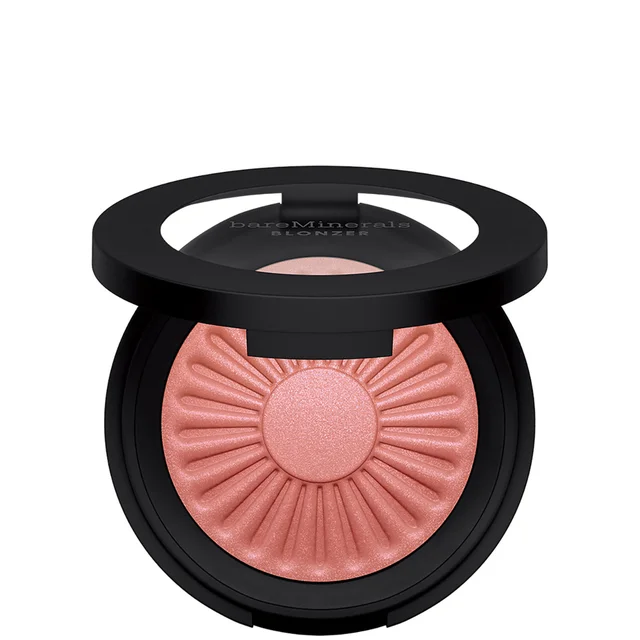
BLONZING
Despite Blonzing only going viral over the past few months, it’s actually a technique make up artists have been using for years – they just didn’t have a name for it. Blonzing refers to the trend "w
WHERE TO APPLY BLUSHER:
- Before applying the blusher and bronzer combination, it’s important that you blend your warm bronzer and peachy, coral or pink blush together on your hand or mixing palette.
- Once blended, apply the new formula on the sun-kissed areas of your face. This includes the cheeks, a dusting of the nose and a light touch on your forehead and jawline.
- To finish the look, use circular motions with your brush to diffuse any harsh line.
279
£24.00

56
£29.00

4
£28.00
47
£36.00
27
£27.00
UNDER-EYE BLUSH
Brought to light by make up artist Spencer (@paintedbyspencer), Under-Eye Blush blends a flush of colour up to just below your lower lash line. Mixing a splash of liquid blush with your day-to-day concealer, this trend is a great way to cancel out any unwanted blue or grey tints beneath your peepers, ensuring pristine colour correcting. What’s more, Under-Eye Blush can be customised to create a plethora of looks. While the Douyin iteration focuses on high-placed pinks for a doll-like sign off, the Crying rendition mixes the look with glossy skin and a smoky eye for a delicate visage. The possibilities really are endless.
WHERE TO APPLY BLUSHER:
- Once your concealer is complete, start off by applying a dewy cream blush around the outer corner of the eyes, gently dabbing downwards. For a natural-looking flush, we suggest reaching for a peachy pink shade for fair to medium skin tones and terracotta for darker skin tones.
- Next, press in a matte powder blush in a similar shade under the eyes to set the look, making sure to diffuse the edges for an airbrushed finish.
- For your finishing touch, add a touch of baby pink powder to the under eyes to create a seamless transition between your under-eye concealer and blush. Oh, and you can also dab a bit of blush on the bridge of your nose for a sun-kissed or "fever blush" effect – if desired.
253
£32.00

1
£36.00
6
£40.00
537
£27.00
25
£28.00
96
£24.00
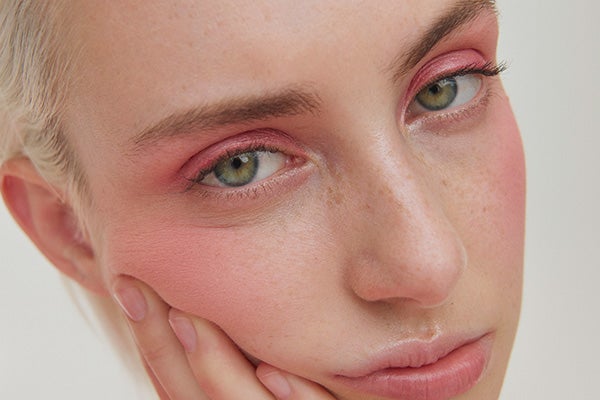
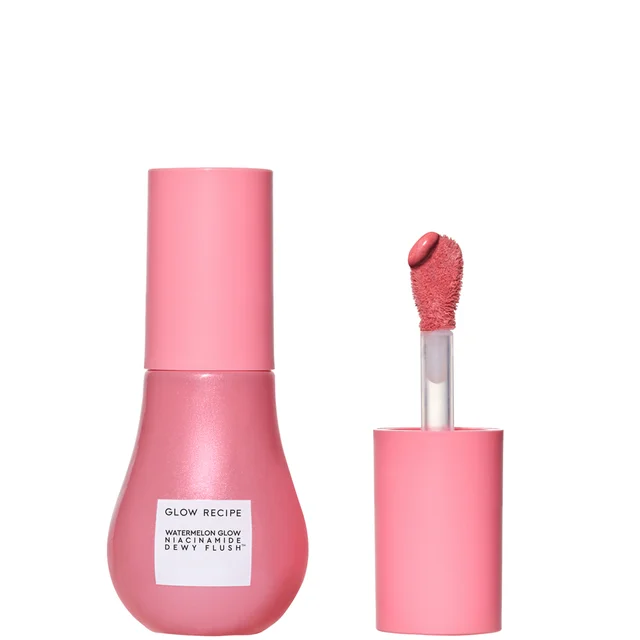
SORBET BLUSH
“A juicy way to add a bold pop of colour to your summer-ready make up looks, Sorbet blush focuses on saturated hues that flatter all skin tones — mimicking that naturally flushed cheek.” Inviting you to play with fresh hues that feel as delightful as the dessert it’s named after, this trend adds a bit of fun and brightness into your daily routine while keeping things light and natural. Inspired by the light, pastel hues of (you guessed it) fruity sorbets, these blushers bring a delicate pop to the cheeks, creating a dewy complexion. Unlike heavy powders or intense pigments, sorbet blushers often come in creamy or gel formulas, allowing for a sheer, buildable finish that mimics the natural warmth of the skin.
WHERE TO APPLY BLUSHER:
Before you dive deep into the colour, it's important to note that Sorbet Blusher works best on smooth, hydrated skin, so apply your usual moisturiser and let it absorb fully before adding your make up. - Now, pick your preferred sorbet blusher in a light, fresh shade like peach, coral, or soft pink and apply it with your fingertips for a natural, skin-like finish. Or use a dense, synthetic brush or make up sponge for more precision.
- Smile gently to find the apples of your cheeks. Then, dab a small amount of the sorbet blusher onto these areas. Start with a little as you can always build up the colour gradually.
- Using your fingers, brush, or sponge, blend the blusher outward and upward toward your temples in gentle, circular motions.
Finally, complete your look as desired. Sorbet blush pairs beautifully with a natural glow...think light mascara, subtle lip tint, and minimal contouring for a fresh-faced finish.
284
£29.00

5
£29.00
5
£30.00
28
£33.33
4
£22.00
15
£28.00
SOPHIA'S TOP TIPS FOR APPLYING BLUSHER
So now we know what trends to replicate and where to apply blusher, it's time to get the inside scoop of the top tips and tricks for ensuring a pro-level flush. Sophia shares her four golden rules for acing your blush.
Prime Your Brush: “This is my top tip! Priming your brush helps to ensure even product distribution, providing a natural and soft blend to your make up. It allows you to gain better control of your application and you can build up as you wish.” Choose Your Textures: “I think the best application is to use a powder blusher and then finish on top with a cream formula to add dimension and glow back to the skin — it also gives a longer-lasting finish. If you find this is too much for you, then I always use my gels and creams for a more natural and radiant finish and to bring life back to my skin. I then use powders if I want a more soft-focus matte finish and something longer lasting.” Texture By Skin Type: “If you have a drier skin, I think creams work best as they can give some life back to the skin by giving it an effortless lift. For oily skin types, a powder will help to set your look, and it won’t crease or smudge as easily.” Find Your Technique: “I personally love to keep my blusher focused on the apples of my cheek, accentuating this area to give me a more youthful look. I always try to blend two tones — a bright, sorbet pop on the apple, fusing with a softer mauvy tone on the outer part of my cheek — so it diffuses into my bronzer and contour for a soft, blended finish.”
WHERE TO APPLY BLUSHER FAQS
What is the two-finger rule for blush?
The two-finger rule for blush is a simple technique that helps you enhance your natural features without over-applying blusher to your nose. To do this place two fingers next to your nose (holding your index and middle fingers vertically beside your nostril) and apply the blush just beyond that point to avoid bringing your colour too close to the centre of your face.
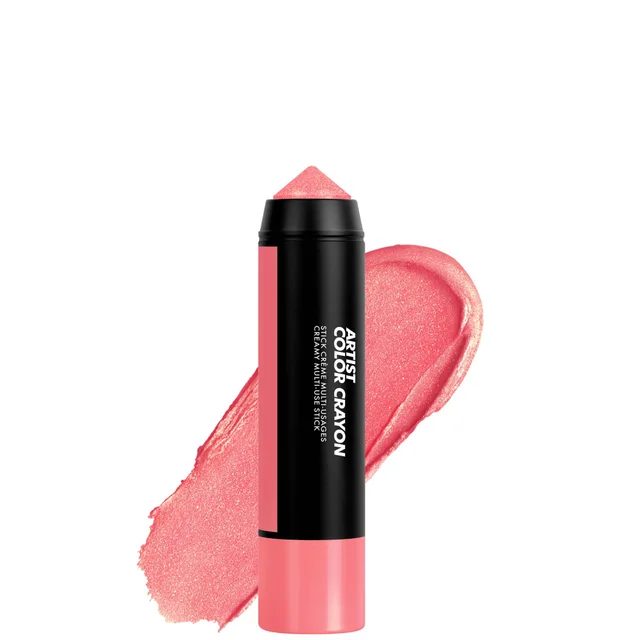
How to apply a blush stick for beginners?
Using a blush stick a great, beginner-friendly way to get a natural, dewy flush. Once your complexion is prepped with your moisturiser, foundation or skin tint, apply your blush stick in your desired location. A blush stick can be applied in three different ways: directly onto your skin for a bolder finish, with your fingers for a soft sign off and with a brush or sponge for a diffused, airbrush effect. The key is to blend well for a seamless (not streaky) look.
Does cream blush go under or over foundation?
While there are no set rules for where to apply blusher, if you’re using a cream blush it is best applied over foundation for a smooth, blended look.
So now you know where to apply blusher, all that’s left to do is to play with placement and let your cheeks take the spotlight.

Cult Beauty’s Senior SEO Copywriter, Trifonia started out in the industry when bold brows were just becoming a ‘thing’, and shares a passion for all things fashion and beauty. Currently embracing her curly girl journey (after endless years of straightening her strands), she is finally reverting to her natural ways! When Triffy isn’t busy testing out the latest curl-saving solutions, you’ll find her binging the latest reality TV show or on a long walk listening to her ever-evolving country music playlist.